In a world where innovation knows no bounds, it’s not surprising that conventional storage solutions are getting a modern makeover. One area that has seen a surge of creativity is shoe storage.
While shoe racks and cabinets have long been the go-to options, there’s a rising star in the realm of shoe organization – the humble pegboard.
This unassuming yet highly versatile tool, often associated with workshops and craft rooms, has found its way into our homes as a stylish and efficient way to store shoes.
I am sure you can understand the struggle of keeping an extensive collection organized and easily accessible. Efficient shoe storage is not only about tidiness; it also ensures that your shoes remain in excellent condition and readily available when you need them.
Without proper storage, shoes can get damaged, lost, or take up valuable space in your home.
This is where the power of pegboards comes into play. With their versatility and customization options, pegboards offer a fantastic solution for maximizing shoe storage space.
In this article, we’ll delve deeper into the world of pegboard shoe storage, exploring its pros and cons as well as providing a step-by-step guide on how to build and maintain one.
Common Shoe Storage Problems
Before we delve into the benefits of using pegboards for shoe storage, let’s address some common shoe storage problems. Many people find themselves with a pile of shoes cluttering the entryway, making it difficult to find the right pair quickly.
Others may resort to storing shoes in boxes, which can lead to a disorganized mess and forgotten pairs. Additionally, traditional shoe racks often lack the flexibility to accommodate various shoe sizes and styles, resulting in wasted space.
These problems can be frustrating and time-consuming to deal with, but fear not – pegboards are here to save the day!
Introducing Pegboards as a Shoe Storage Solution
Pegboards have long been used as a versatile storage solution for tools and craft supplies, but they are equally effective for shoe storage.
These perforated boards, usually made of wood or metal, feature evenly spaced holes that allow for easy customization.
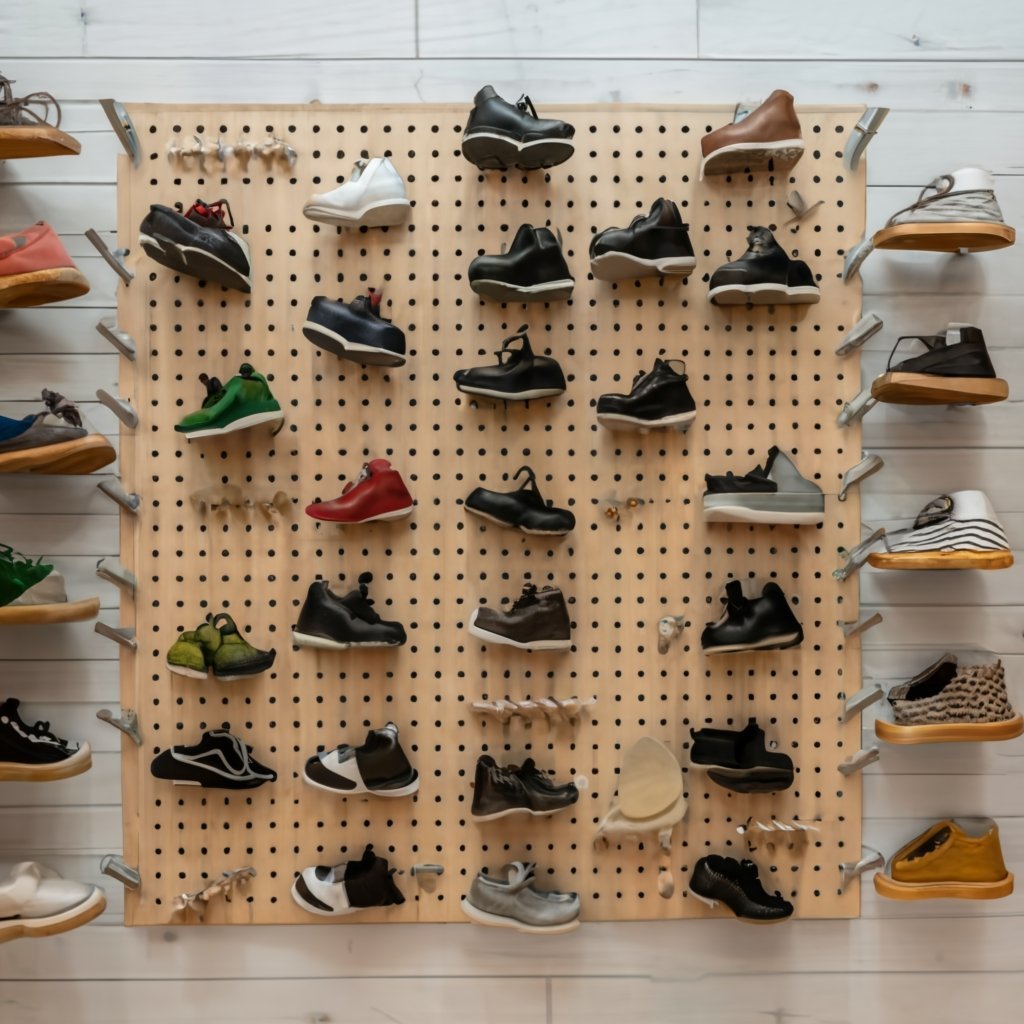
By attaching hooks, shelves, and other accessories, you can create a personalized shoe storage system that perfectly suits your collection.
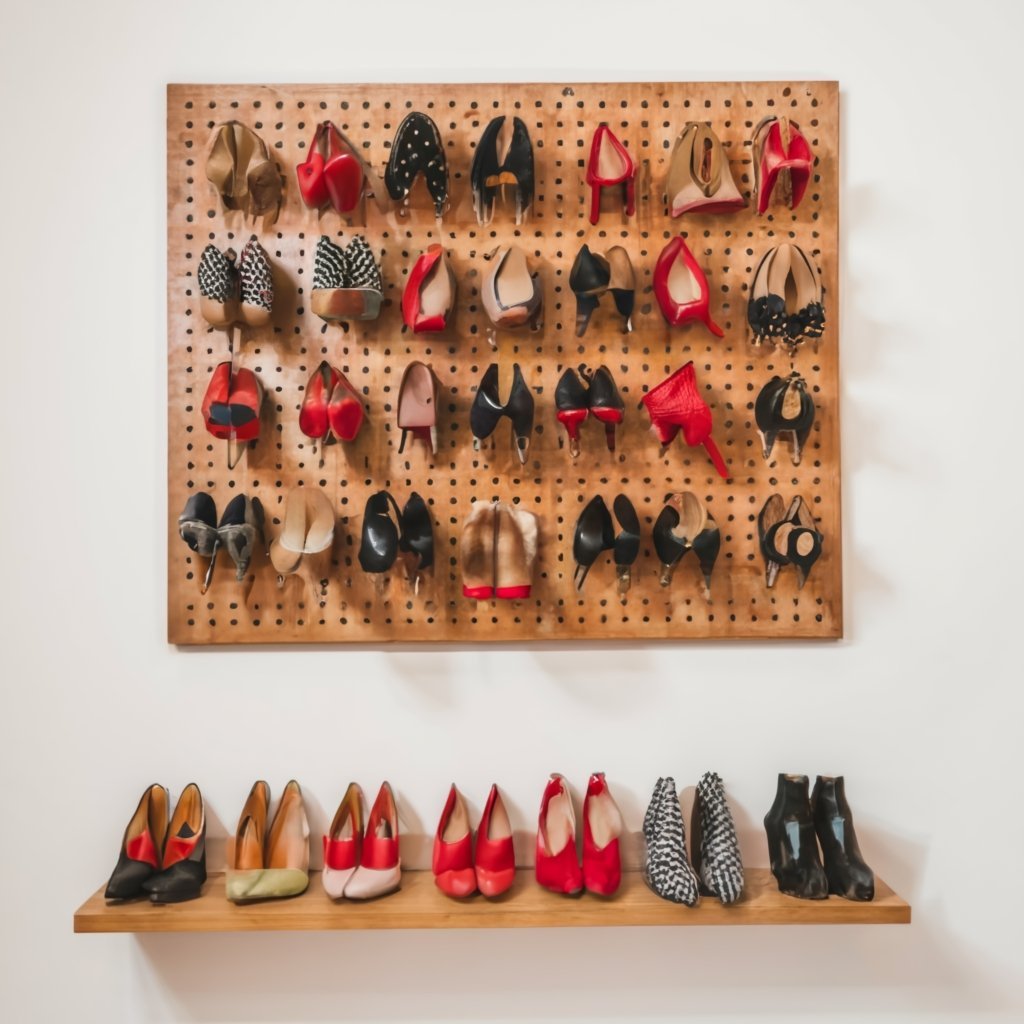
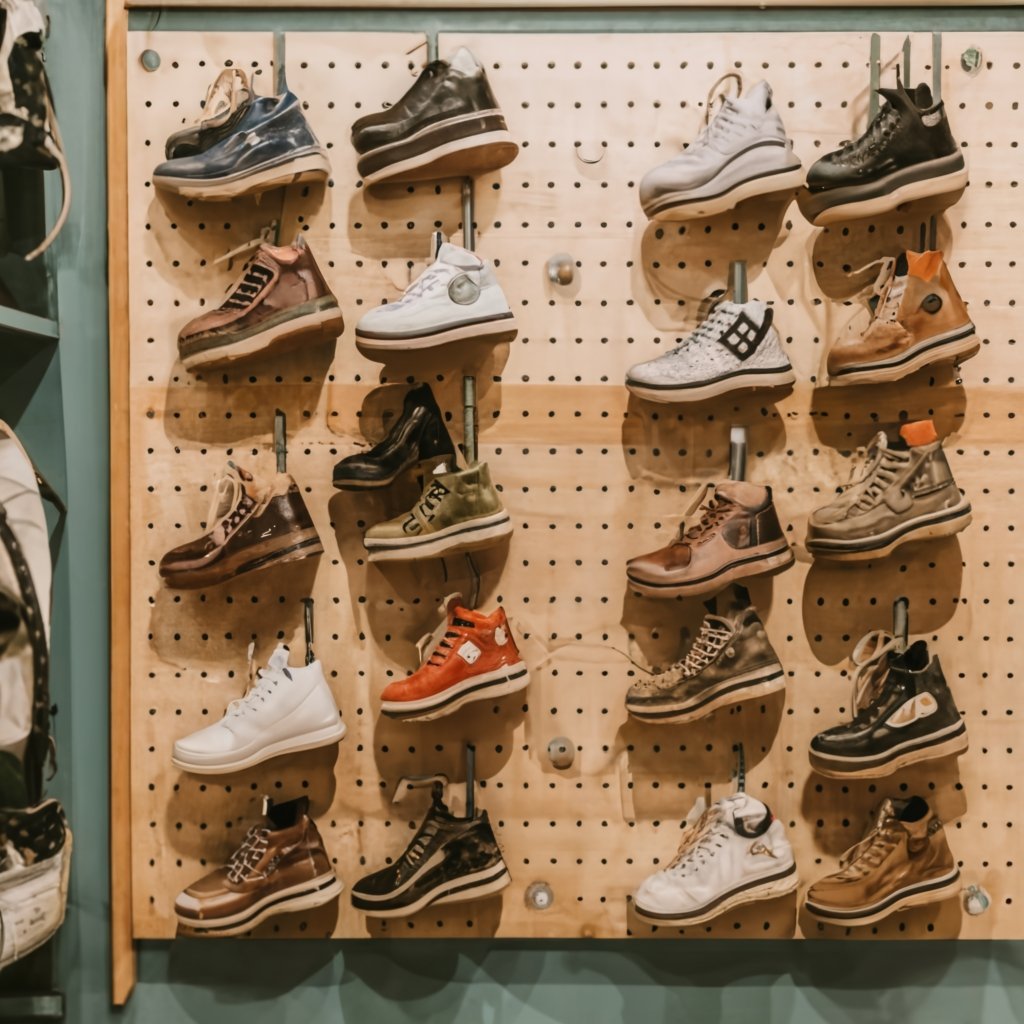
Whether you have a modest assortment of footwear or an impressive array of heels, sneakers, and boots, pegboards offer the flexibility and adaptability needed to accommodate all types of shoes.

Benefits of Using Pegboards for Shoe Storage
The benefits of utilizing pegboards for shoe storage are numerous.
Pros of Pegboard Shoe Storage
1. Maximizing Vertical Space
Traditional shoe racks and cabinets often occupy valuable floor space. In today’s space-conscious world, every inch counts. With a pegboard, you can take advantage of unused vertical space.
By mounting it on a wall, you free up precious floor area for other purposes. This is particularly beneficial for those with smaller living spaces or apartments making them ideal for small entryways or closets. By utilizing the vertical plane, you can store more shoes while keeping the floor clear and uncluttered.
This not only creates a more spacious and organized environment but also makes it easier to find the perfect pair without rummaging through piles of shoes.
2. Customization to Suit Your Needs
One size does not fit all, especially when it comes to shoe storage. Pegboards offer a high degree of customization.
With an array of hooks, shelves, and attachments available, you can design a storage solution that perfectly fits your shoe collection.
High heels, sneakers, boots – the pegboard can accommodate them all. This adaptability ensures that your pegboard shoe storage not only serves its functional purpose but also complements your unique style and preferences.
3. Visibility and Accessibility
How many times have you found yourself rummaging through stacks of shoes, desperately trying to find that one elusive pair?
One of the key advantages of using a pegboard is that you can see all your shoes at a glance. No more searching through boxes or peering into dark corners of closets – each pair is neatly displayed, making it easy to select the perfect footwear for any occasion.
It’s a non-stylish solution for busy mornings and impromptu outings.
Pegboards also allow you to showcase your shoe collection like a work of art. Your shoes can be displayed in a visually pleasing manner, transforming your storage area into a stylish display.
4. Aesthetic Appeal
Gone are the days when storage solutions were purely functional eyesores. Pegboards come in various materials and finishes, allowing you to choose one that complements your existing décor.
Whether you prefer a sleek, modern look or a rustic, handcrafted feel, there’s a pegboard style to suit every taste. Transforming your shoe storage into a visually pleasing part of your living space adds an extra layer of sophistication to your home.
5. Versatility
Another significant advantage of pegboards is their versatility. Unlike traditional shoe racks or cubbies, pegboards can be easily adjusted to accommodate different shoe sizes and styles.
By moving the hooks or shelves, you can create custom configurations that perfectly fit high heels, sneakers, or even boots.
This adaptability ensures that every inch of your pegboard is efficiently utilized, eliminating wasted space.
Additionally, as your shoe collection grows or changes over time, you can easily rearrange the pegboard to accommodate new additions without the need for additional storage solutions.
Cons of Pegboard Shoe Storage
1. Limited Weight Capacity
While pegboards are sturdy and reliable, they do have weight limits.
Heavier shoes, like some winter boots or steel-toed work boots, might be better suited for a different storage solution.
It’s important to take this into consideration when selecting which pairs of shoes to hang on your pegboard. For heavier footwear, a reinforced shoe rack or dedicated storage cabinet might be more suitable.
2. Installation and Mounting
Mounting a pegboard securely requires some DIY skills. You’ll need to locate wall studs, use appropriate anchors, and ensure the pegboard is level.
While this may be a drawback for those who are less inclined towards home improvement projects, the effort is well worth the reward.
Once properly installed, a pegboard provides a stable and reliable storage solution that can last for years.
3. Dust and Cleaning
Unlike closed cabinets, shoes on a pegboard are exposed to dust. Regular cleaning and maintenance are necessary to keep your shoes looking their best.
However, with a quick wipe down or a run-over with a handheld vacuum, you can easily keep your shoe display in top-notch condition.
This small maintenance task is a small price to pay for the convenience and aesthetic appeal that a pegboard provides.
How to Build a Pegboard for Shoe Storage
If you’re up for a DIY project, creating a pegboard shoe storage solution is both cost-effective and satisfying. Follow this detailed guide to get started:
Building a pegboard for shoe storage is a straightforward process that can be accomplished with a few basic tools. Here’s a step-by-step guide to help you get started:
- Choose the right location: Select a wall or area where you want to install the pegboard. It should be easily accessible and provide enough space for your shoe collection.
- Prepare the wall: Ensure that the wall surface is clean and free from any obstructions, such as outlets or switches. If needed, remove any existing wall coverings or paint to create a smooth surface.
- Gather Your Materials:
- Pegboard panel
- Wooden frame (to attach the pegboard)
- Hooks, shelves, and attachments
- Screws, anchors, and wall-mounting hardware
- Measure and Cut:
Measure the space where you plan to install the pegboard. Cut the pegboard panel and frame to fit. Accuracy at this stage ensures a seamless and professional-looking finished product.
- Attach the Frame:
Secure the wooden frame to the wall using screws and anchors. Make sure it’s level. The frame serves as the foundation for your pegboard, providing stability and support.
- Mount the Pegboard:
Attach the pegboard to the frame using screws or hooks. Ensure it’s firmly in place. Double-checking that it’s securely fastened will prevent any wobbling or tilting in the future.
- Add Hooks and Shelves:
Customize the pegboard to your liking by attaching hooks and shelves to hold your shoes. Experiment with different configurations to find the arrangement that best suits your shoe collection.
- Final Touches:
Double-check that all attachments are secure. Test the weight capacity by hanging a few pairs of shoes. This step ensures that your pegboard is ready to handle the demands of your shoe collection.
Once the pegboard is securely installed, you can start organizing your shoes and reaping the benefits of an efficient and visually appealing shoe storage solution.
Organizing Shoes on a Pegboard
Now that you have your pegboard installed, it’s time to put it to good use and create a well-organized shoe display. Here are some tips for organizing your shoes effectively:
- Categorize your shoes: Start by categorizing your shoes based on their style, frequency of use, or any other criteria that make sense to you. This will help you determine the best arrangement on the pegboard.
- Utilize different accessories: Pegboards offer a wide range of accessories that can enhance your shoe storage system. Use hooks to hang heels or sandals, shelves for sneakers or flats, and bins or baskets for smaller items like shoe accessories or cleaning supplies.
- Consider aesthetics: Arrange your shoes in a visually pleasing manner. You can create a color gradient, group similar styles together, or even arrange them by season. This not only makes your shoe collection more appealing but also makes it easier to find the perfect pair for any occasion.
By organizing your shoes thoughtfully, you’ll have a functional and aesthetically pleasing shoe storage solution that will make getting dressed a breeze.
Creative Ways to Utilize Pegboards for Shoe Storage
Pegboards offer endless possibilities when it comes to shoe storage. Here are some creative ideas to inspire you:
- The shoe gallery: Transform your pegboard into a stunning shoe gallery by arranging your shoes in an artistic and visually pleasing manner. Add some decorative elements like picture frames or artwork to create a unique display.
- The sneaker wall: If you’re a sneakerhead, dedicate an entire wall to your sneaker collection. Use pegboards to showcase your most prized sneakers, allowing you to admire them while keeping them easily accessible.
- The hidden shoe storage: Install a pegboard on the inside of a closet door or behind a door in your entryway. This hidden shoe storage solution maximizes space while keeping your shoes neatly tucked away.
Feel free to get creative and adapt these ideas to suit your personal style and space requirements.

DIY Shoe Storage Projects Using Pegboards
If you’re a DIY enthusiast, pegboards open up a world of possibilities for creating unique and customized shoe storage solutions. Here are a few project ideas to get you started:
- The shoe shelf: Attach a long shelf to the bottom of a pegboard, creating a convenient spot to store shoes. You can even add dividers to keep pairs organized and prevent them from slipping.
- The shoe ladder: Use wooden dowels or metal rods to create a ladder-like structure on your pegboard. Hang your shoes on the rungs, creating an eye-catching and functional display.
- The shoe cabinet: Build a custom shoe cabinet using pegboards as the backing. Add doors or curtains to conceal the shoes, giving your storage area a clean and organized look.
The possibilities are endless when it comes to DIY shoe storage projects using pegboards. Let your imagination run wild and create a storage solution that perfectly fits your needs.
Maintenance and Cleaning Tips for Shoe Storage with Pegboards
To ensure the longevity and cleanliness of your shoe storage with pegboards, here are some maintenance and cleaning tips:
- Regular dusting: Dust your pegboard regularly to prevent the buildup of dirt or debris. Use a soft cloth or a dusting brush to gently remove any particles from the surface and accessories.
- Spot cleaning: If your pegboard becomes dirty or stained, use a mild soap or detergent mixed with water to spot clean. Gently scrub the affected area with a soft brush or sponge, then rinse with clean water and dry thoroughly.
- Avoid excessive moisture: Pegboards are generally durable, but excessive moisture can cause warping or damage. Avoid placing wet or damp shoes directly on the pegboard and ensure proper ventilation in the storage area.
By following these maintenance and cleaning tips, you can keep your shoe storage looking pristine and functional for years to come.
Conclusion: Embracing the Power of Pegboards for Efficient Shoe Storage
In the realm of shoe storage solutions, pegboards stand out as a versatile and space-saving option.
Efficient shoe storage is essential for maintaining an organized and clutter-free home. Their ability to maximize vertical space, provide customization, and offer easy accessibility make them a practical choice for any shoe enthusiast.
With the power of pegboards, you can transform your shoe storage from chaotic to functional and stylish. By utilizing their versatility, customization options, and space-saving capabilities, pegboards offer a solution to common shoe storage problems.
Before considering using pegboards, please remember to consider the weight limitations, installation process, and cleaning requirements before making the leap. With a bit of DIY spirit, you can create a pegboard shoe storage system that not only keeps your shoes organized but also adds a touch of style to your living space.
Whether you choose to install a simple pegboard or embark on a DIY project, embracing the power of pegboards will revolutionize the way you store and display your shoe collection.
So why not elevate your shoe storage game and give pegboards a try?
Your shoes will thank you!

